The Moka Pot, often referred to as the “stovetop espresso maker,” is a classic and beloved coffee brewing method. This Italian invention creates a strong, espresso-like coffee with rich, bold flavors, and it’s perfect for those who want a café-style brew at home without needing an espresso machine. In this article, we’ll walk you through the steps to make the perfect coffee with a Moka Pot.
1. Choose the Right Coffee Beans
The key to great Moka Pot coffee starts with choosing the right beans. While you can use any type of coffee, a medium or dark roast is ideal for making rich and robust coffee that mimics espresso.
What to look for:
- Espresso blends or dark roasts are perfect for Moka Pot coffee because they offer a bolder, more intense flavor.
- Freshly roasted coffee is always best for brewing, so aim to use beans that were roasted within the past two weeks.
Tip: If you don’t have an espresso blend, you can use any coffee beans, but make sure they’re ground to the right consistency (more on that below).
2. Grind the Coffee
When using a Moka Pot, the grind size is crucial. The grind should be slightly finer than that of drip coffee but coarser than espresso. Think of a consistency similar to table salt.
Why it matters:
- If the grind is too coarse, the coffee may be under-extracted and weak.
- If the grind is too fine, the coffee can become over-extracted, resulting in bitterness and an unpleasant taste.
Tip: Always grind your beans fresh before brewing. A burr grinder is recommended for consistent grind size, but if you use a blade grinder, aim for a grind that’s similar to what you’d use for drip coffee but a bit finer.
3. Fill the Bottom Chamber with Water
The Moka Pot has three main parts: the bottom chamber (where the water goes), the filter basket (where the coffee grounds go), and the top chamber (where the brewed coffee collects). To start, remove the filter basket and fill the bottom chamber with water.
How to fill:
- Fill the bottom chamber with water up to the safety valve (a small metal valve located on the side).
- Make sure you don’t overfill the chamber, as the water needs space to boil and create pressure for brewing.
Tip: Use filtered water for the best taste, as tap water can affect the flavor of your coffee.
4. Add the Coffee Grounds to the Filter Basket
Once the bottom chamber is filled with water, place the filter basket back into the Moka Pot. Next, add the ground coffee to the filter basket. Be sure to level the grounds with your finger but do not pack them down. This allows the coffee to brew evenly.
Why it matters:
- Packing the coffee grounds can result in uneven extraction and may cause the coffee to taste bitter or over-extracted.
- The coffee grounds should sit loosely in the filter for the best extraction.
Tip: If you want a stronger cup of coffee, you can add a little more coffee, but make sure not to overfill the basket.
5. Assemble the Moka Pot
After adding the coffee grounds, carefully screw the top part of the Moka Pot onto the bottom chamber. Make sure it’s tightly sealed, but don’t over-tighten it. An airtight seal is essential for creating the pressure needed to brew the coffee.
Why it matters:
- A tight seal ensures that the water and coffee grounds are in contact with the right amount of pressure for optimal extraction.
Tip: Wipe the rim of the Moka Pot with a clean cloth before screwing the top on to ensure a good seal.
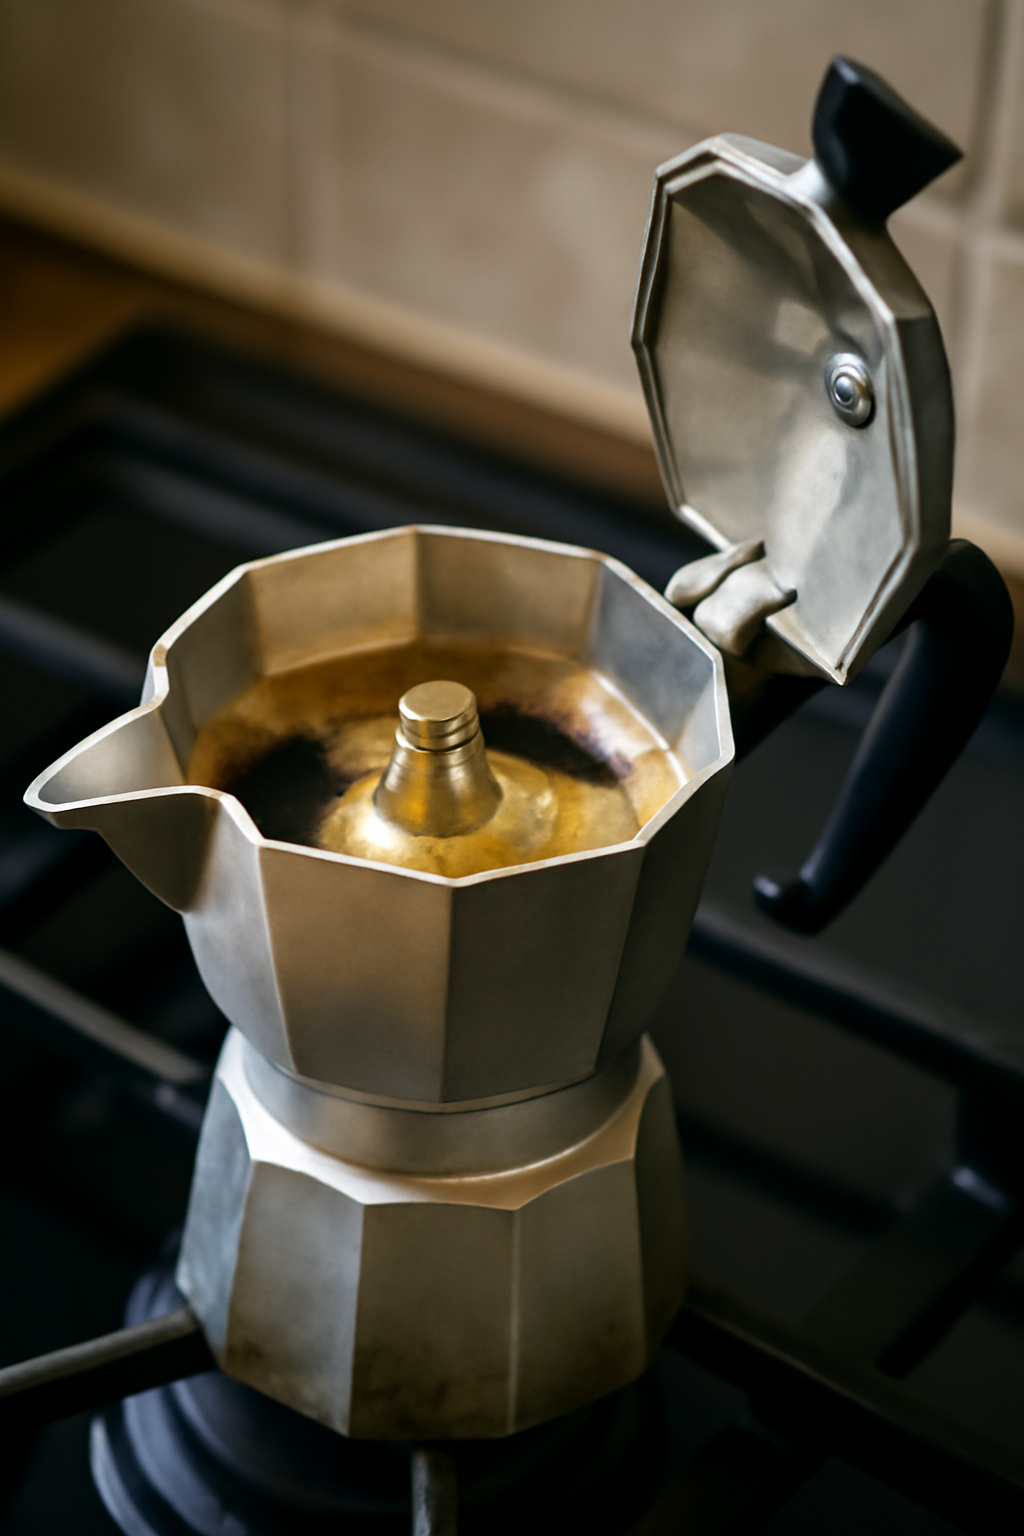
6. Place the Moka Pot on the Stovetop
Now, place the Moka Pot on the stovetop over medium heat. Avoid using high heat, as this can cause the coffee to brew too quickly and result in a bitter taste.
How to heat:
- Place the Moka Pot on the burner and heat it until you hear a bubbling sound, indicating that the coffee is brewing.
- Keep an eye on it, as the brewing process should take around 3 to 5 minutes, depending on the heat and the amount of water in the Moka Pot.
Why it matters:
- The brewing process should be slow and steady for the best extraction. Heating it too quickly can cause the coffee to become too harsh.
Tip: If you’re making multiple cups of coffee, you can use a larger Moka Pot. However, the principle of medium heat remains the same.
7. Listen for the “Hissing” Sound
As the coffee brews, you’ll hear a characteristic “hissing” or “gurgling” sound. This sound occurs when all the water has passed through the coffee grounds and the brewing process is complete. Once you hear this sound, remove the Moka Pot from the heat immediately to prevent the coffee from burning.
Why it matters:
- Listening for the hissing sound ensures that the brewing process has finished and prevents over-extraction or bitterness from burning.
Tip: If you prefer a less bitter taste, you can remove the Moka Pot from the stove slightly before the hissing begins and let the remaining pressure finish the brewing process off the heat.
8. Serve the Coffee
After removing the Moka Pot from the heat, give it a gentle swirl to mix the brewed coffee and ensure consistency. Pour the coffee into a mug and enjoy it immediately.
Why it matters:
- Stirring the coffee ensures that any strong or weak flavors are evenly distributed, giving you a smoother, more balanced cup.
Tip: Moka Pot coffee is usually served straight, but you can add milk or sugar if you prefer. It also pairs well with frothed milk for a cappuccino or latte-style coffee.
Conclusion
Making coffee with a Moka Pot is a simple and rewarding process that yields rich, strong coffee with a bold flavor profile. With the right beans, grind size, and brewing technique, you can enjoy café-quality coffee right at home. Whether you’re looking for a quick boost in the morning or a flavorful afternoon pick-me-up, the Moka Pot is a fantastic tool for creating delicious, espresso-like coffee.