A Keurig coffee maker is one of the most convenient and user-friendly ways to brew a cup of coffee at home. It uses coffee pods, also known as K-Cups, to brew a single cup of coffee with minimal effort. Whether you’re in a rush or simply prefer a hassle-free coffee experience, Keurig machines make brewing quick and easy. In this article, we’ll guide you through the steps to make the perfect cup of coffee with a Keurig.
1. Choose the Right K-Cup
The first step in making coffee with a Keurig is selecting the right K-Cup. K-Cups come in a variety of flavors, roasts, and brands, so it’s important to choose one that suits your taste preferences. Whether you prefer a light roast, medium roast, or dark roast, there’s a K-Cup for everyone.
What to look for:
- Coffee blends: Most Keurig coffee makers offer a variety of coffee blends, including classic options like Breakfast Blend, French Roast, and Espresso.
- Flavored K-Cups: If you like flavored coffee, there are many K-Cups available with flavors like vanilla, caramel, hazelnut, or mocha.
- Decaf options: If you’re sensitive to caffeine or prefer a nighttime brew, there are decaffeinated K-Cups available.
Tip: Choose a K-Cup that matches your preferred flavor profile and roast level for the best results.
2. Prepare the Keurig Machine
Before brewing your coffee, make sure the Keurig machine is ready. Start by filling the water reservoir with fresh, cold water. The amount of water you add depends on the size of the cup you’re brewing, but most Keurig machines will have a water reservoir that holds enough for multiple cups.
Steps:
- Fill the water reservoir: Make sure the water reservoir is filled to the appropriate level for the number of cups you plan to brew.
- Turn on the machine: Power on the Keurig by pressing the power button. It may take a minute or two for the machine to heat up the water.
Why it matters:
- Fresh water ensures the best flavor and ensures that the machine brews at the correct temperature for optimal extraction.
Tip: If you haven’t used the machine in a while, it’s a good idea to run a water-only cycle through the machine to clean it before brewing coffee.
3. Insert the K-Cup
Once the Keurig machine is ready, the next step is to insert the K-Cup. Simply lift the machine’s top lid, place the K-Cup into the pod holder, and close the lid securely.
Why it matters:
- Inserting the K-Cup correctly ensures the machine punctures the pod and starts the brewing process.
Tip: Make sure the K-Cup is inserted with the foil side facing down, as this is the correct position for brewing.
4. Select Your Cup Size
Most Keurig machines offer multiple cup sizes, such as 6 oz, 8 oz, and 10 oz, to suit your preference for a stronger or milder cup of coffee. Select the cup size you want by pressing the corresponding button on the machine.
Why it matters:
- The cup size determines how much water is used to brew your coffee. If you prefer a stronger cup, opt for a smaller size. For a milder brew, choose a larger size.
Tip: Choose a smaller size if you want a more concentrated, stronger cup of coffee, or a larger size for a lighter, milder cup.
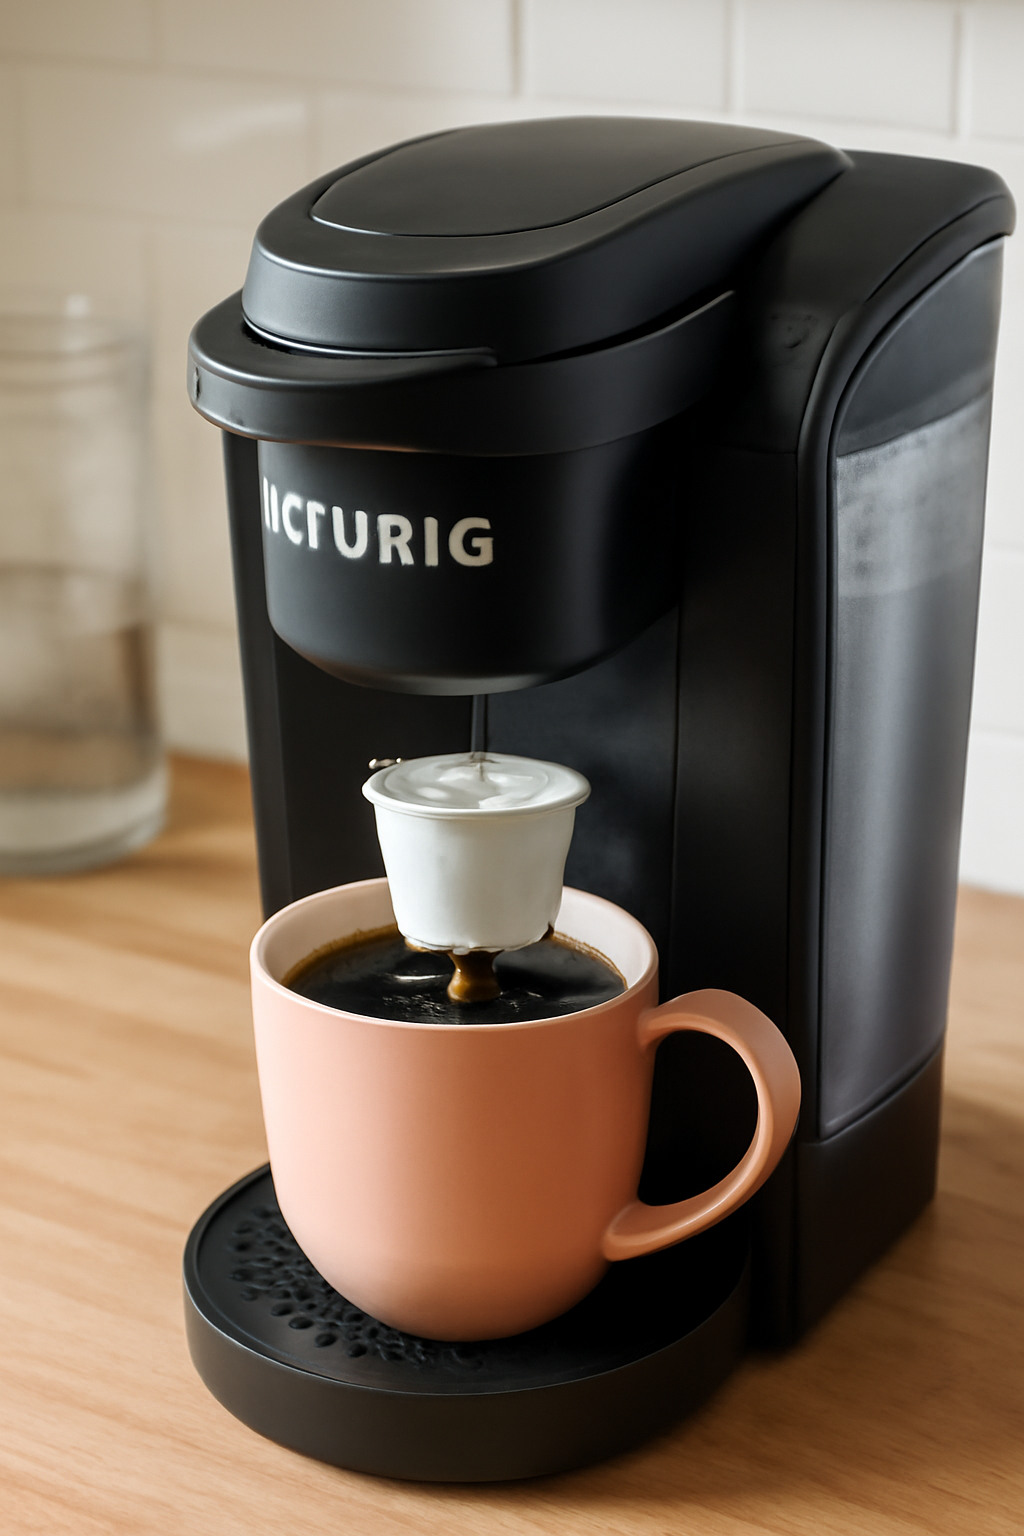
5. Brew the Coffee
Once you’ve selected your cup size, press the brew button, and the Keurig will start brewing your coffee. The machine will puncture the K-Cup, forcing hot water through the coffee grounds and into your mug.
Why it matters:
- The brewing process is quick, and the Keurig machine ensures that the water temperature is ideal for extracting coffee flavors without over-extracting or under-extracting.
Tip: Wait for the machine to complete the brewing process before removing your mug. Avoid opening the machine during brewing, as this can interrupt the flow of coffee.
6. Serve and Enjoy
Once the brewing cycle is complete, carefully remove your mug from the machine. Your coffee is ready to enjoy! You can drink it as-is or customize it with your favorite add-ins like milk, cream, sugar, or flavored syrups.
Why it matters:
- Freshly brewed coffee from a Keurig is perfect on its own, but adding milk or sweeteners can help tailor it to your taste.
Tip: Experiment with different types of creamers or syrups to create a unique, personalized coffee experience.
7. Clean the Keurig Machine
After you’ve brewed your coffee, it’s important to clean the Keurig machine to ensure that it continues to perform well. At the end of each brewing session, make sure to remove the used K-Cup and dispose of it. Additionally, it’s a good idea to clean the machine’s water reservoir and drip tray regularly.
Why it matters:
- Regular cleaning ensures that your Keurig machine remains in top condition and that your coffee always tastes fresh.
Tip: Run a few water-only cycles through the machine every couple of weeks to prevent mineral buildup and keep it running smoothly.
Conclusion
Making coffee with a Keurig is quick, easy, and convenient. Whether you’re brewing a single cup for yourself or making coffee for a group, the Keurig machine allows you to enjoy fresh coffee in no time. By selecting your preferred K-Cup, adjusting the cup size, and following the steps for brewing and cleaning, you can enjoy a delicious cup of coffee with minimal effort. Happy brewing!