The Moka Pot is a classic stovetop coffee maker that produces strong, espresso-like coffee. Known for its rich and bold flavor, it is a popular choice among coffee enthusiasts who appreciate the ritual of brewing coffee by hand. Though simple to use, the Moka Pot requires a bit of technique to brew the perfect cup. In this guide, we’ll show you how to make coffee with a Moka Pot, step by step.
1. Choose the Right Coffee Beans
The coffee you use in a Moka Pot can have a huge impact on the final taste. To get the best results, it’s essential to choose freshly roasted coffee beans that are suited for stovetop brewing.
What to look for:
- Espresso blends or dark roasts are ideal for the Moka Pot, as they offer a bold and rich flavor that will stand up to the brewing process.
- Freshly roasted coffee beans ensure the best flavor and aroma. The coffee will taste best if brewed within 2–3 weeks of roasting.
Tip: Grind the coffee just before brewing to preserve the freshness. A medium-fine grind is ideal for the Moka Pot.
2. Grind the Coffee
For the Moka Pot, the coffee should be ground to a consistency that’s similar to table salt—not too fine like espresso grounds, but not too coarse like drip coffee grounds.
Why it matters:
- If the grind is too fine, the coffee could become over-extracted and bitter. If it’s too coarse, the coffee may be under-extracted and weak.
- A medium grind allows for the perfect extraction, giving you a balanced cup of coffee.
Tip: Use a burr grinder for the most consistent grind. Avoid using a blade grinder, as it often produces uneven grounds.
3. Fill the Bottom Chamber with Water
The bottom chamber of the Moka Pot is where the water is heated and forced through the coffee grounds. To get started, remove the top chamber and filter basket and fill the bottom chamber with water.
How to fill:
- Fill the bottom chamber with water up to the safety valve. This is important because the pressure inside the pot needs to build properly to extract the coffee.
- Avoid overfilling the chamber, as the coffee may overflow or brew unevenly.
Why it matters:
- Filling the chamber properly ensures the correct brewing pressure, allowing the coffee to be extracted properly and evenly.
4. Add the Coffee Grounds to the Filter Basket
Place the filter basket back into the bottom chamber and add your freshly ground coffee. Use about 1 to 2 tablespoons of ground coffee for a standard Moka Pot size.
How to add the coffee grounds:
- Gently shake the filter basket to level the coffee grounds.
- Avoid pressing or tamping the grounds down—this can cause over-extraction and a bitter taste.
Why it matters:
- Evenly distributing the coffee grounds ensures consistent extraction, which leads to a well-balanced cup of coffee.
Tip: Make sure the coffee grounds are slightly mounded but not packed tightly.
5. Assemble the Moka Pot
Once the coffee grounds are in the filter basket, carefully place the top chamber onto the base. Screw the top of the Moka Pot on tightly, but don’t over-tighten it.
Why it matters:
- The seal between the two chambers is crucial to create the pressure needed for proper brewing. A loose seal can result in weak or under-extracted coffee.
Tip: Wipe any coffee grounds from the rim of the bottom chamber before assembling the Moka Pot to ensure a clean seal.
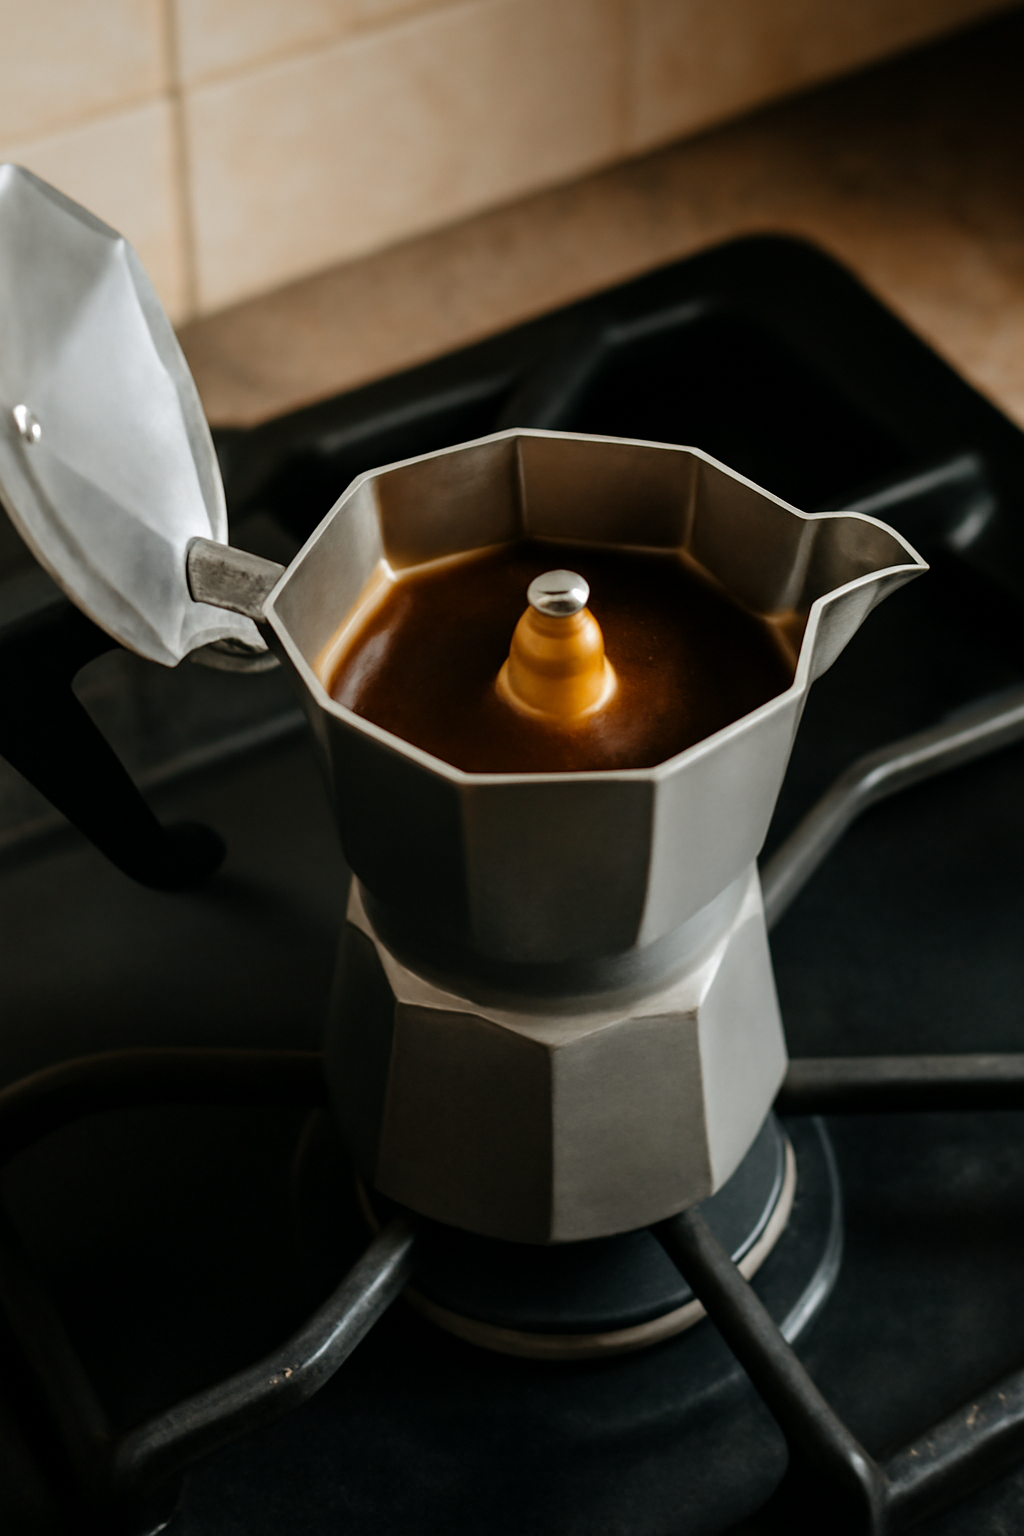
6. Place the Moka Pot on the Stovetop
Now it’s time to brew! Place the Moka Pot on the stovetop over medium heat. Don’t use high heat, as it can cause the coffee to brew too quickly and result in a burnt taste.
Why it matters:
- Medium heat allows the water to heat up evenly, which ensures proper extraction and prevents the coffee from becoming burnt or bitter.
Tip: Keep the lid of the Moka Pot open so you can hear the brewing process and monitor the sound.
7. Wait for the Brewing Process
As the water heats up, it will begin to build pressure and force its way through the coffee grounds and into the top chamber. You’ll start to hear a hissing or gurgling sound as the coffee is brewed.
What to listen for:
- The brewing process typically takes around 5 minutes, depending on the heat level and size of the Moka Pot.
- Once the sound changes to a sputtering or bubbling sound, this means the brewing process is complete.
Why it matters:
- Stopping the brewing process when the sound changes ensures that the coffee is not over-brewed, which could lead to bitterness.
Tip: Keep an eye on the brewing process to avoid any overflow or burning of the coffee.
8. Serve and Enjoy
Once the coffee has finished brewing, remove the Moka Pot from the stovetop. Let the coffee settle for a few seconds before pouring it into your cup.
Why it matters:
- Letting the coffee settle allows any leftover water to drain, resulting in a smoother cup of coffee.
Tip: Serve the coffee immediately while it’s fresh and hot, and enjoy the rich, bold flavor of your homemade espresso-style coffee.
9. Clean the Moka Pot
After using the Moka Pot, it’s essential to clean it to maintain its performance and ensure a fresh-tasting cup of coffee each time.
How to clean the Moka Pot:
- Discard the used coffee grounds.
- Rinse the Moka Pot with warm water and wipe the parts with a soft cloth. Avoid using soap, as it can leave a residue that affects the flavor.
- Clean the filter basket and other parts thoroughly to prevent any buildup of coffee oils.
Why it matters:
- Regular cleaning keeps your Moka Pot functioning properly and ensures your coffee tastes fresh without any residual flavors.
Tip: Once a month, deep clean the Moka Pot by soaking it in warm water with vinegar to remove any mineral buildup.
Conclusion
Making coffee with a Moka Pot is a simple yet rewarding process that produces rich, flavorful coffee with minimal effort. By following these straightforward steps—choosing the right coffee, grinding it properly, and brewing with care—you can enjoy a strong, espresso-like coffee that rivals any café. Whether you prefer it black or with milk, the Moka Pot is a great way to enjoy a delicious cup of coffee at home.